Incorporating Images into FireAlpaca: A Comprehensive Guide
Related Articles: Incorporating Images into FireAlpaca: A Comprehensive Guide
Introduction
With great pleasure, we will explore the intriguing topic related to Incorporating Images into FireAlpaca: A Comprehensive Guide. Let’s weave interesting information and offer fresh perspectives to the readers.
Table of Content
Incorporating Images into FireAlpaca: A Comprehensive Guide
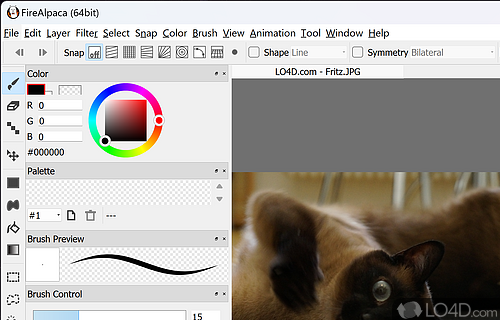
FireAlpaca, a free and versatile digital art software, offers a range of features for artists of all skill levels. One of its valuable functionalities is the ability to integrate external images into your artwork, unlocking a multitude of creative possibilities. This guide will delve into the various methods of adding images to FireAlpaca, providing a clear and comprehensive understanding of the process.
Understanding the Benefits of Adding Images to FireAlpaca
Integrating images into FireAlpaca is not merely a technical maneuver; it’s a powerful artistic tool that can significantly enhance your workflow and creative output. Here are some key benefits:
- Reference Material: Images serve as invaluable reference points for artists, providing accurate visual information for anatomical details, landscapes, textures, and more. By importing reference images into FireAlpaca, artists can ensure accuracy and consistency in their creations.
- Compositional Inspiration: Images can inspire and guide compositional choices. By analyzing the layout, perspective, and balance of external images, artists can gain insights that inform their own artwork.
- Texture and Detail Enhancement: Incorporating images with intricate textures, patterns, or details can enrich the visual complexity of your artwork. This allows artists to add realism, depth, and visual interest to their creations.
- Creating Unique Blends: Combining elements from different images through layering and blending techniques allows artists to create unique and original compositions. This process can lead to unexpected and visually captivating results.
- Building upon Existing Work: Artists can use images as a starting point for their artwork, modifying, enhancing, or transforming them to create entirely new pieces. This approach fosters creative exploration and experimentation.
Methods for Adding Images to FireAlpaca
FireAlpaca offers multiple ways to integrate images into your artwork, catering to different needs and workflow preferences. Let’s explore each method in detail:
1. Importing Images via the "File" Menu
This is the most straightforward method for adding images to FireAlpaca.
- Open FireAlpaca: Launch the software and ensure you have the desired canvas or document open.
- Navigate to the "File" Menu: Locate the "File" menu at the top of the application window.
- Select "Open": Choose the "Open" option from the dropdown menu.
- Locate and Select Image: Navigate to the folder containing the image you wish to import. Select the image file and click "Open."
The selected image will now appear as a new layer within your FireAlpaca document, ready for manipulation and integration with your artwork.
2. Using the "Drag and Drop" Method
For a faster and more intuitive approach, FireAlpaca allows you to drag and drop images directly onto the canvas.
- Open FireAlpaca: Launch the software and have your desired canvas or document open.
- Locate the Image: Find the image you want to import on your computer.
- Drag and Drop: Click and hold the image file and drag it directly onto the FireAlpaca canvas. Release the mouse button.
The image will appear as a new layer on your canvas, ready for further adjustments.
3. Utilizing the "Paste" Function
If you have already copied an image to your clipboard, FireAlpaca allows you to paste it directly onto your canvas.
- Open FireAlpaca: Launch the software and have your desired canvas or document open.
- Copy Image: Use the appropriate keyboard shortcut or right-click menu option to copy the image you wish to import.
- Paste Image: In FireAlpaca, navigate to the "Edit" menu and select "Paste." Alternatively, use the keyboard shortcut "Ctrl+V" (Windows) or "Cmd+V" (Mac).
The image will be pasted as a new layer on your canvas, ready for integration with your artwork.
4. Importing Images as a "Reference Layer"
FireAlpaca allows you to import images as reference layers, which remain visible but do not affect the painting process. This is particularly useful for maintaining a visual guide without altering the underlying artwork.
- Open FireAlpaca: Launch the software and have your desired canvas or document open.
- Navigate to "Layer" Menu: Click the "Layer" menu at the top of the application window.
- Select "New Reference Layer": Choose the "New Reference Layer" option from the dropdown menu.
- Locate and Select Image: Navigate to the folder containing the image you wish to import. Select the image file and click "Open."
The selected image will appear as a reference layer, indicated by a checkered background. This layer remains visible but cannot be edited or painted on.
5. Importing Images as "Guides"
FireAlpaca offers a dedicated "Guide" feature that allows you to import images specifically for guidance purposes. These guides are similar to reference layers but offer additional functionality, such as the ability to adjust opacity and visibility.
- Open FireAlpaca: Launch the software and have your desired canvas or document open.
- Navigate to "View" Menu: Click the "View" menu at the top of the application window.
- Select "Guide": Choose the "Guide" option from the dropdown menu.
- Locate and Select Image: Navigate to the folder containing the image you wish to import. Select the image file and click "Open."
The selected image will appear as a guide layer, indicated by a checkered background. You can adjust the guide’s opacity and visibility using the "Guide" options in the "View" menu.
Understanding Image Manipulation in FireAlpaca
Once you have successfully imported an image into FireAlpaca, you can manipulate it to suit your artistic needs. Here are some key techniques for image manipulation:
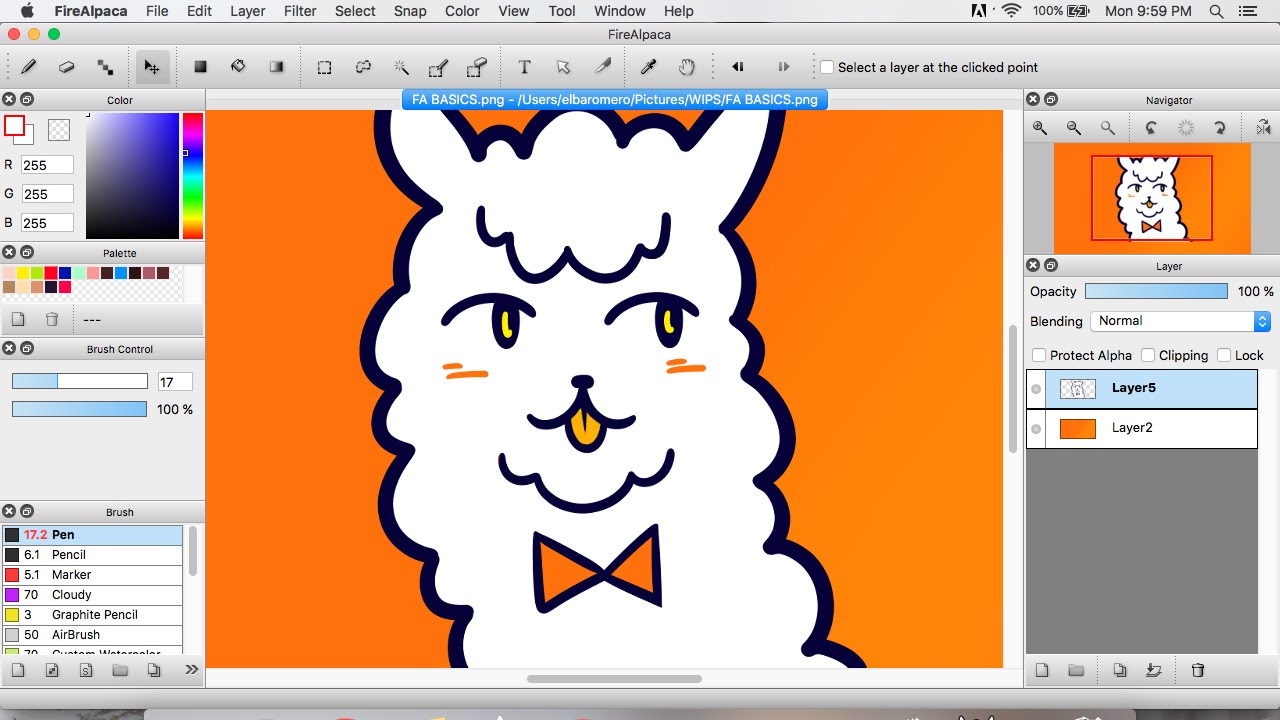
- Resizing and Cropping: FireAlpaca allows you to resize and crop images using the "Transform" tool. This tool provides options for scaling, rotating, and cropping images to fit your desired dimensions.
- Opacity Adjustment: The "Opacity" slider in the "Layer" palette allows you to control the transparency of the imported image. This is helpful for creating subtle overlays or blending images seamlessly.
- Blending Modes: FireAlpaca offers various blending modes that affect how the imported image interacts with the underlying layers. Experimenting with different blending modes can create unique and interesting effects.
- Color Adjustment: Use the "Color" palette to adjust the hue, saturation, and brightness of the imported image. This allows you to modify the image’s color scheme to match your overall artwork.
- Brush and Tool Applications: Use FireAlpaca’s various brushes and tools to paint, erase, or modify the imported image. This allows you to integrate the image seamlessly into your artwork.
FAQs about Adding Images to FireAlpaca
1. Can I add multiple images to FireAlpaca simultaneously?
Yes, you can add multiple images to FireAlpaca by using any of the methods described above. Each image will be imported as a separate layer, allowing you to manipulate and arrange them independently.
2. How do I remove an imported image from FireAlpaca?
To remove an imported image, simply select the layer containing the image in the "Layer" palette and click the "Delete" icon. Alternatively, you can right-click the layer and choose "Delete Layer."
3. Can I edit imported images within FireAlpaca?
Yes, you can edit imported images within FireAlpaca using its various tools and features. These include resizing, cropping, adjusting opacity, applying blending modes, and using brushes and other tools.
4. Is there a limit to the file size of images I can import?
FireAlpaca does not have a strict file size limit for imported images. However, very large images may impact performance and slow down the software. It’s recommended to optimize image size for optimal performance.
5. Can I import images from different sources, such as the internet or external drives?
Yes, you can import images from various sources, including the internet, external drives, or your computer’s local storage. Ensure the image file format is compatible with FireAlpaca, such as JPG, PNG, GIF, or BMP.
Tips for Adding Images to FireAlpaca
- Optimize Image Size: Before importing images, consider resizing them to a manageable size to avoid performance issues.
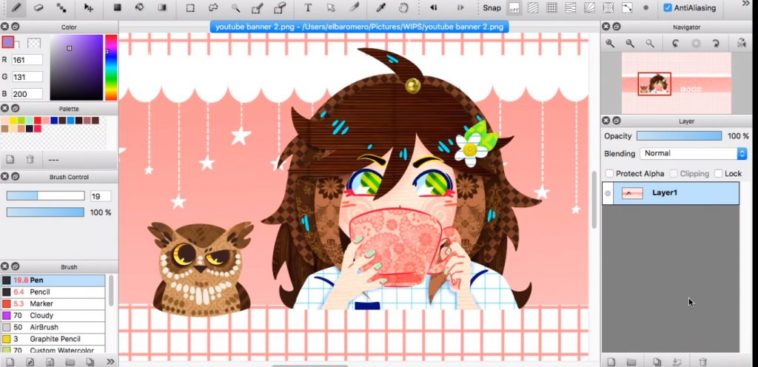
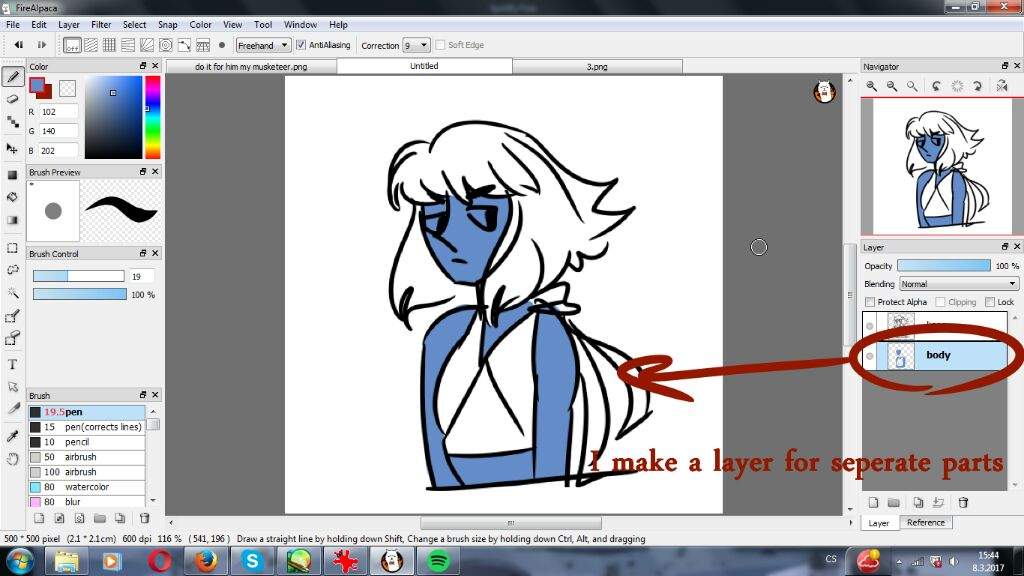
- Utilize Layers: Create separate layers for each imported image to allow for independent manipulation and easy adjustment.
- Experiment with Blending Modes: Explore different blending modes to create unique and visually appealing effects.
- Use Reference Layers Wisely: Reference layers are valuable for maintaining visual guides without affecting the underlying artwork.
- Consider Image Resolution: Ensure the resolution of imported images is sufficient for your desired output size.
Conclusion
Adding images to FireAlpaca is a versatile and powerful technique that can significantly enhance your artistic workflow. By mastering the various methods of image integration and manipulation, artists can leverage external imagery to create compelling, detailed, and unique artworks. From utilizing reference material to building upon existing images, the ability to incorporate external imagery empowers artists to explore new creative avenues and elevate their artistic endeavors.


Closure
Thus, we hope this article has provided valuable insights into Incorporating Images into FireAlpaca: A Comprehensive Guide. We appreciate your attention to our article. See you in our next article!