Mastering Image Rotation on iPhone: A Comprehensive Guide
Related Articles: Mastering Image Rotation on iPhone: A Comprehensive Guide
Introduction
In this auspicious occasion, we are delighted to delve into the intriguing topic related to Mastering Image Rotation on iPhone: A Comprehensive Guide. Let’s weave interesting information and offer fresh perspectives to the readers.
Table of Content
Mastering Image Rotation on iPhone: A Comprehensive Guide
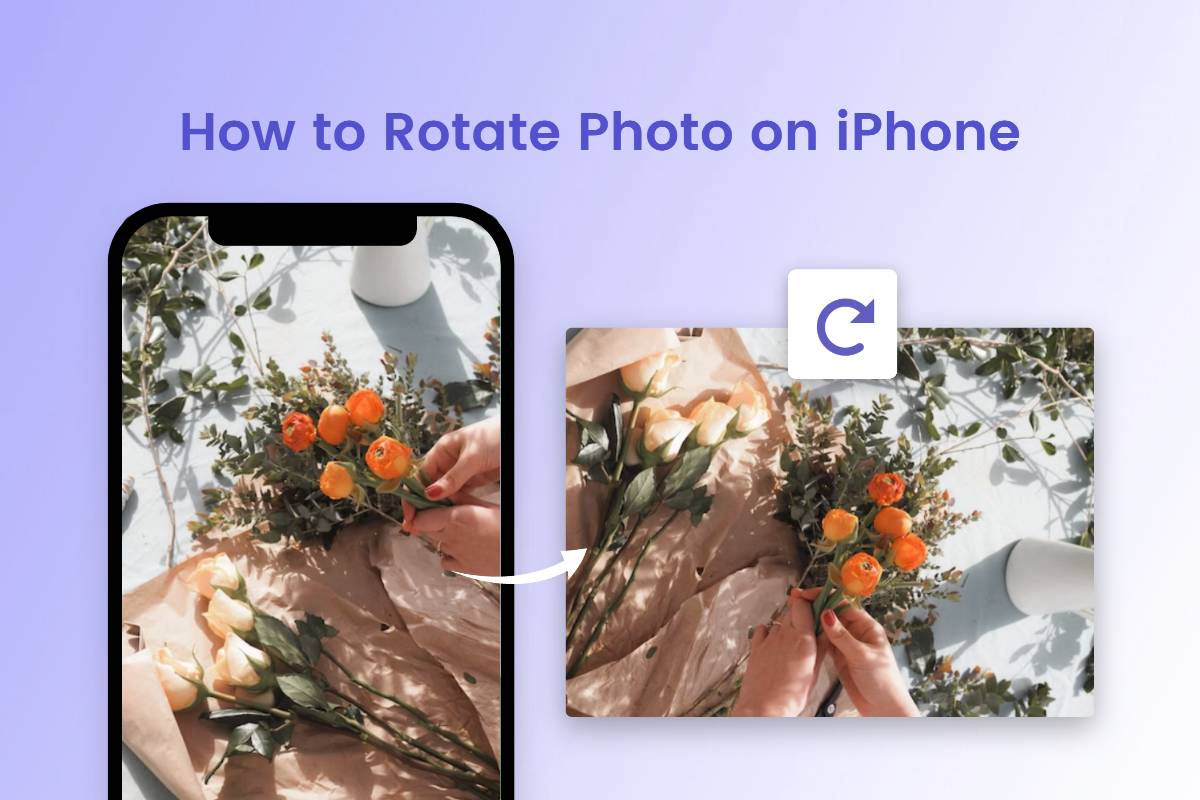
The ability to rotate images on an iPhone is a fundamental skill for anyone who uses their device for photography, editing, or sharing visual content. Whether you need to correct a tilted photo, align an image for a presentation, or simply adjust the orientation for aesthetic purposes, mastering image rotation is crucial. This guide provides a comprehensive explanation of the various methods and tools available on iPhone, ensuring you can effortlessly manipulate your images to achieve the desired results.
Understanding Image Rotation on iPhone
Image rotation on iPhone involves adjusting the orientation of a picture by a specific angle, typically 90 degrees increments. This process is essential for various reasons:
- Correcting Tilted Photos: When capturing a picture, the camera might not be perfectly level, resulting in a tilted image. Rotating the image rectifies this issue, ensuring a balanced and visually pleasing composition.
- Adjusting Image Orientation: Images captured in portrait mode may need to be rotated to landscape mode, or vice versa, depending on the intended use. This is particularly important for social media posts, presentations, or printing purposes.
- Creating Visual Effects: Rotation can be used creatively to add a dynamic or artistic touch to images. For example, rotating an image by a specific angle can create a sense of motion or distortion.
Methods for Rotating Images on iPhone
The iPhone offers a multitude of ways to rotate images, ranging from built-in features to dedicated apps. Here’s a breakdown of the most common and effective methods:
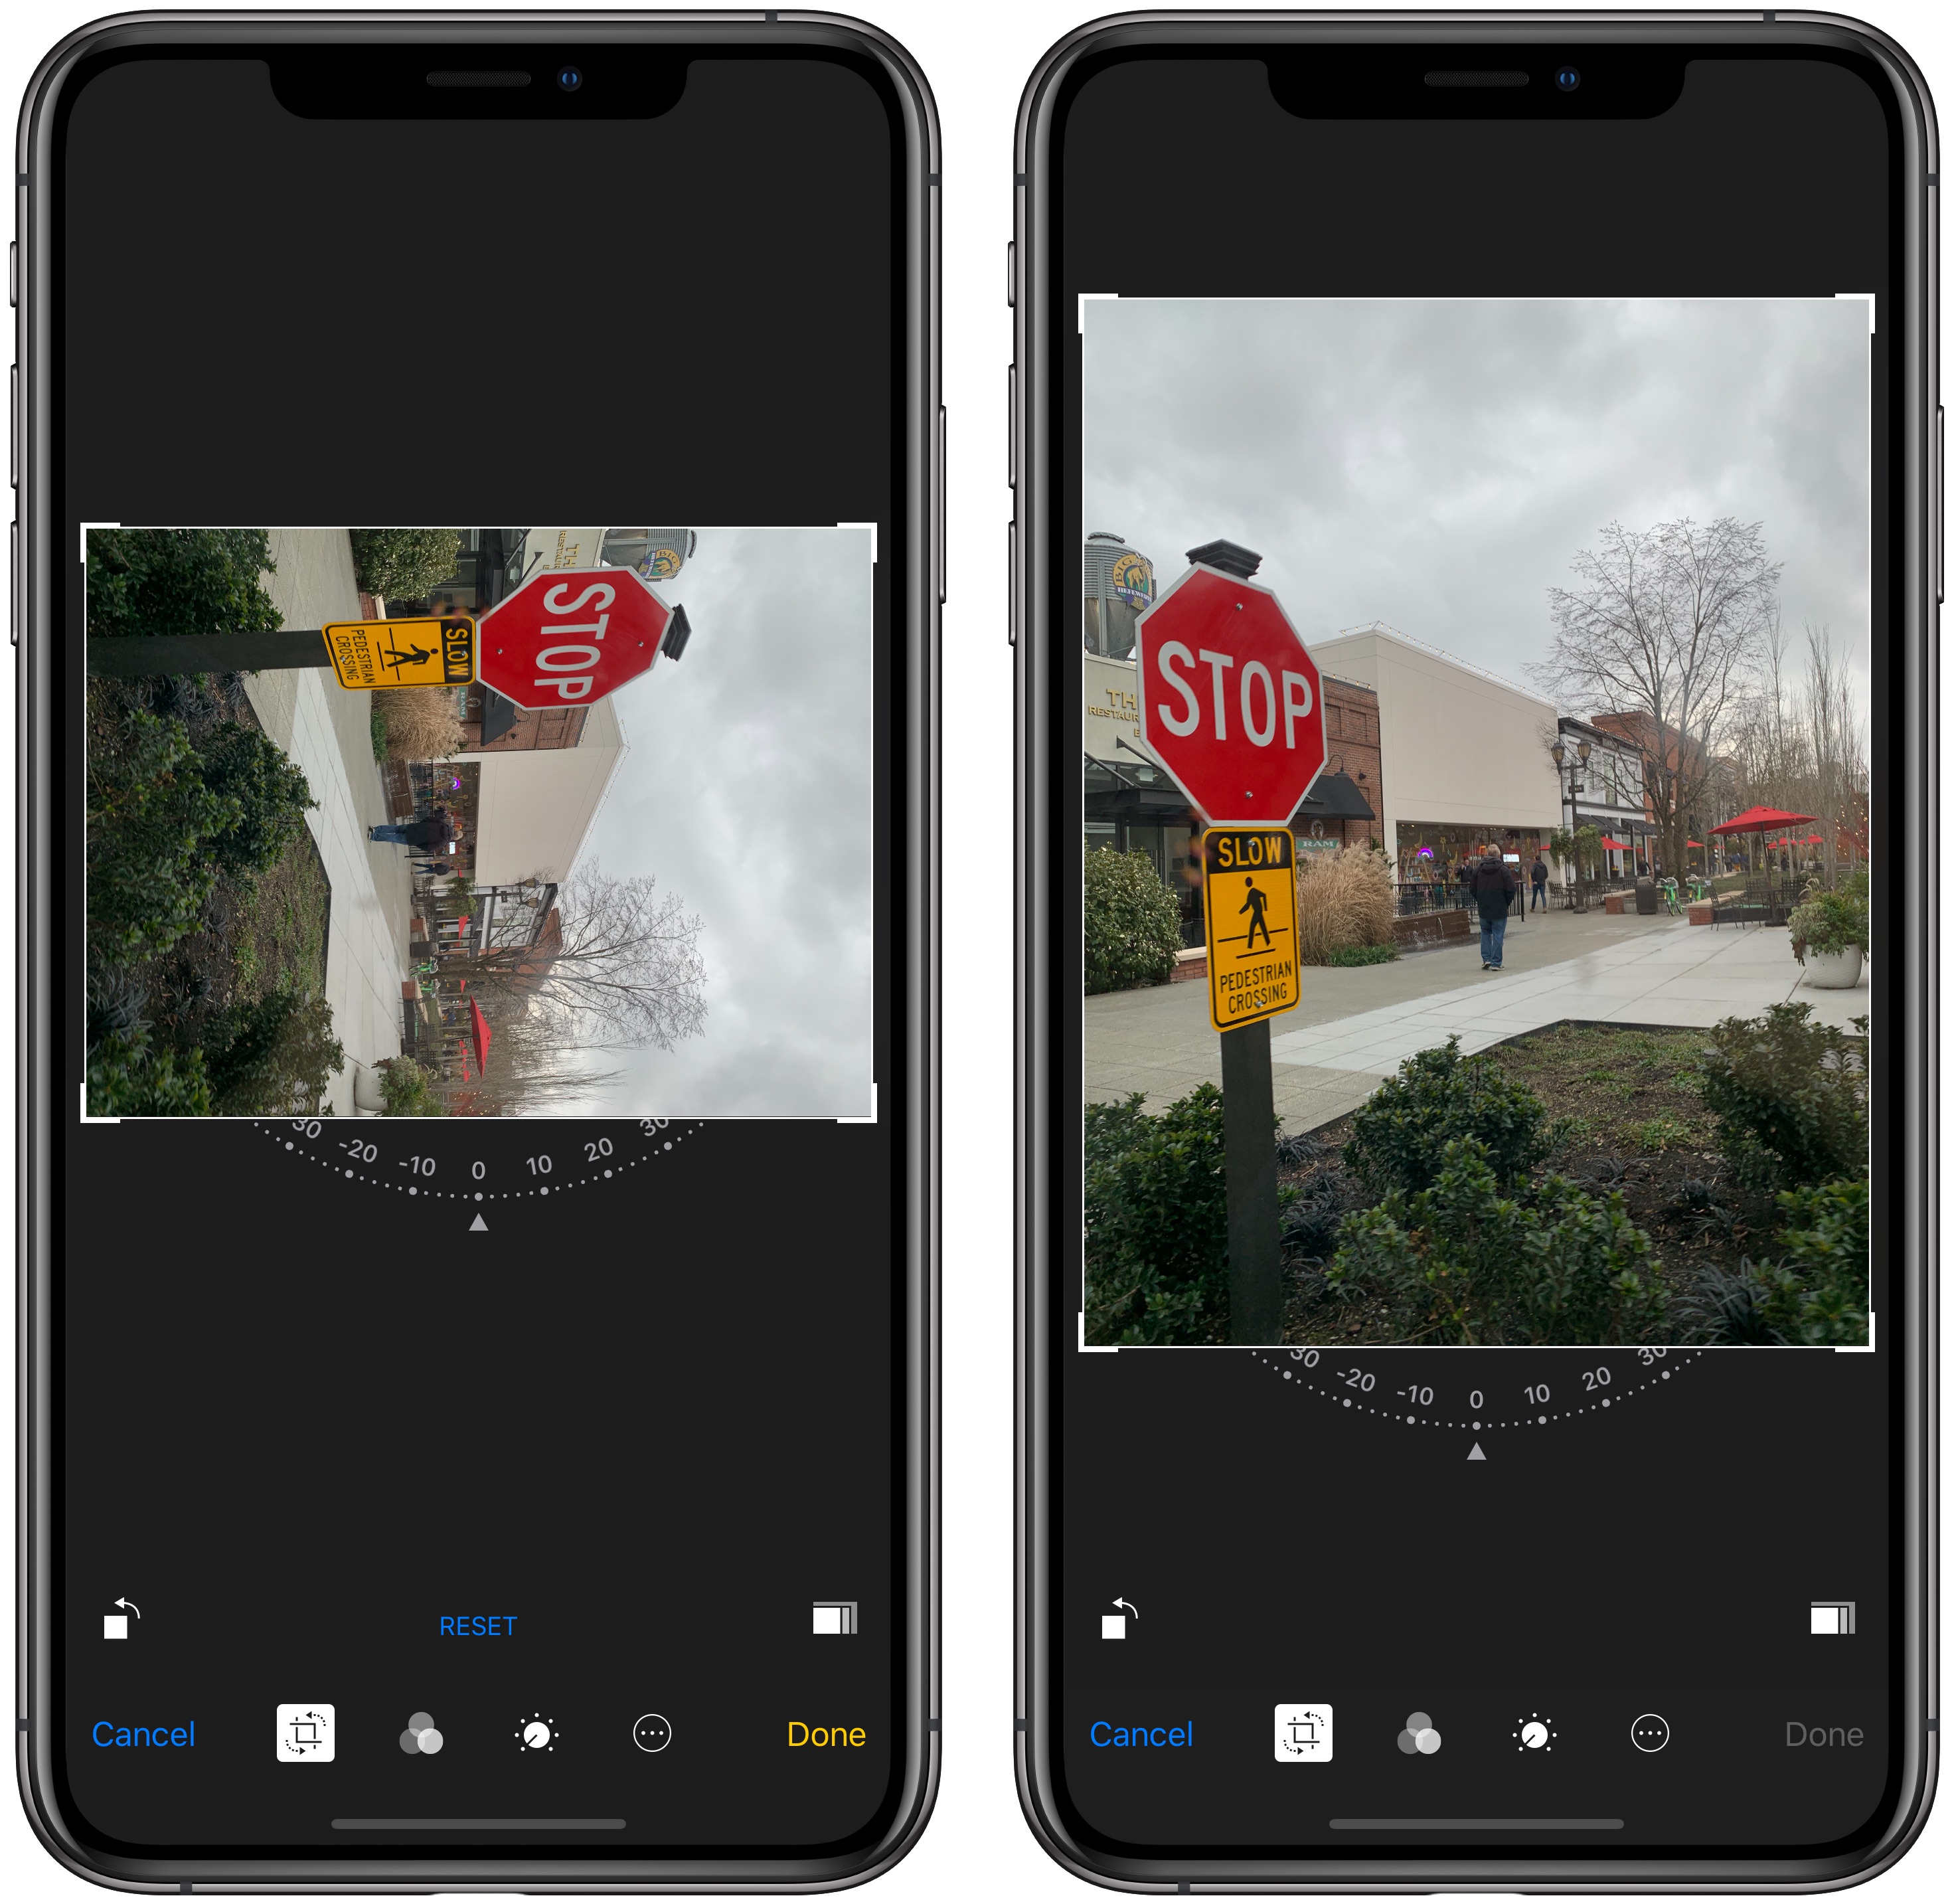
1. Using the Photos App:
The Photos app, pre-installed on every iPhone, provides a straightforward and intuitive way to rotate images.
- Open the Photos App: Launch the Photos app on your iPhone and navigate to the image you wish to rotate.
- Select the Image: Tap on the image to open it in full-screen view.
- Rotate Icon: Look for the rotation icon in the lower-right corner of the screen. This icon resembles a curved arrow.
- Rotate the Image: Tap the rotation icon repeatedly to rotate the image 90 degrees clockwise with each tap. To rotate counter-clockwise, simply tap and hold the rotation icon and then drag your finger to the left.
2. Utilizing the Markup Feature:
The Markup feature, accessible within the Photos app, offers more control over image manipulation, including rotation.
- Open the Photos App: Launch the Photos app and select the image you want to rotate.
- Access Markup: Tap the "Share" icon (the square with an upward arrow) in the lower-left corner of the screen. Scroll down the list of options and select "Markup."
- Rotate the Image: Once in the Markup tool, you can rotate the image using the rotation icon located in the lower-right corner of the screen. This method allows for precise rotation by dragging the icon.
3. Employing Third-Party Apps:
Numerous third-party apps are available on the App Store, offering advanced image editing capabilities, including rotation. Some popular options include:
- Adobe Photoshop Express: This app provides a user-friendly interface for basic image editing, including rotation, cropping, and color adjustments.
- PicsArt: A comprehensive photo editor with a vast array of tools, including rotation, filters, and special effects.
- Snapseed: A powerful and versatile app developed by Google, offering professional-grade image editing features, including precise rotation and fine-tuning options.
Benefits of Rotating Images on iPhone
Rotating images on your iPhone offers numerous benefits, enhancing the overall usability and aesthetic appeal of your visual content:
- Improved Visual Presentation: Correcting tilted photos or adjusting image orientation ensures a professional and polished look, enhancing the visual impact of your images.
- Enhanced Sharing Experience: Rotating images before sharing them on social media or other platforms guarantees a consistent and visually appealing experience for your audience.
- Increased Functionality: Rotating images can be essential for specific purposes, such as creating presentations, designing layouts, or aligning images for printing.
- Creative Expression: Rotation can be used as a creative tool to add unique visual effects and enhance the artistic expression of your images.
Tips for Rotating Images on iPhone
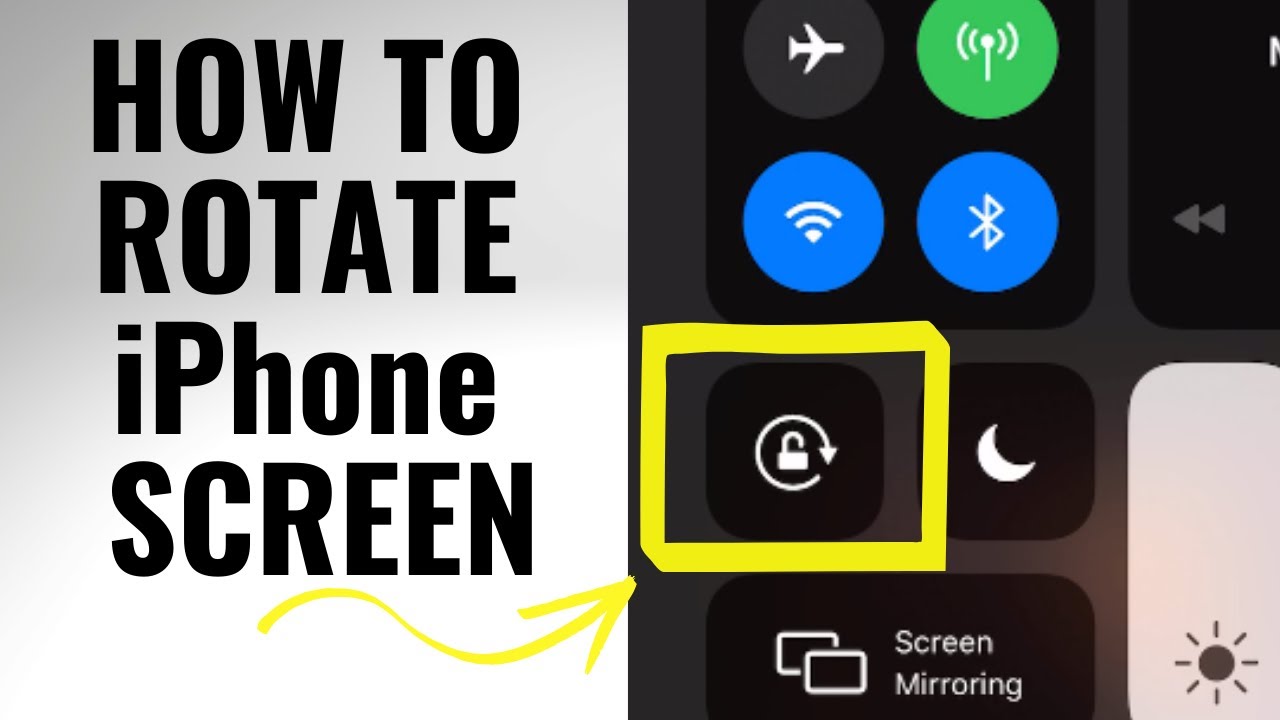
- Utilize the Rotation Lock: The iPhone’s rotation lock feature prevents the screen from automatically rotating when you tilt your device. This can be useful when you need to keep the image orientation fixed, particularly when editing or viewing images in portrait mode. To toggle rotation lock, simply swipe down from the top-right corner of your screen to access the Control Center and tap the rotation lock icon (a padlock with an arrow).
- Use the Pinch-to-Zoom Gesture: When rotating an image using the Photos app, you can use the pinch-to-zoom gesture to zoom in on the image, allowing for more precise rotation.
- Experiment with Third-Party Apps: If you require advanced rotation features or specific effects, explore the vast selection of image editing apps available on the App Store. These apps often offer more granular control over rotation, including fine-tuning options and visual aids.
FAQs about Image Rotation on iPhone
Q: Can I rotate multiple images at once?
A: While the built-in Photos app does not offer a feature to rotate multiple images simultaneously, some third-party apps like Adobe Photoshop Express and PicsArt allow batch editing, including rotation.
Q: How do I rotate an image to a specific angle?
A: The built-in Photos app primarily allows rotation in 90-degree increments. However, third-party apps like Snapseed provide more precise control, allowing you to rotate images to any desired angle.
Q: Can I undo a rotation?
A: Yes, you can undo a rotation by tapping the "Undo" button, typically represented by a curved arrow pointing to the left, located in the top-left corner of the screen within the Photos app or most image editing apps.
Q: What are the best apps for rotating images on iPhone?
A: The best app for rotating images depends on your specific needs and desired level of control. For basic rotation, the built-in Photos app is sufficient. However, for more advanced features, consider apps like Adobe Photoshop Express, PicsArt, or Snapseed.
Conclusion
Rotating images on your iPhone is a simple yet powerful tool for enhancing the visual appeal and functionality of your images. Whether you need to correct a tilted photo, adjust the orientation for sharing, or add creative effects, the various methods and tools available on iPhone empower you to effortlessly manipulate your images and achieve the desired results. By mastering image rotation, you can elevate your visual content, ensuring it’s both aesthetically pleasing and functionally optimized for any purpose.


Closure
Thus, we hope this article has provided valuable insights into Mastering Image Rotation on iPhone: A Comprehensive Guide. We thank you for taking the time to read this article. See you in our next article!